Category Archives: Gifty Stuff

Taffy Treat Bag

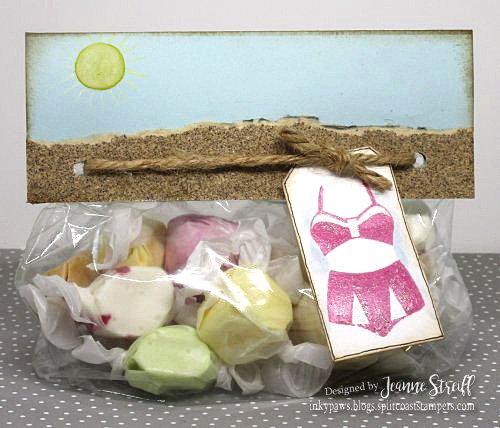
Saltwater Taffy always screams beach to me. It’s one of those candies that you see at every little tourist shop along beaches everywhere. Today’s summer themed treat bag was inspired by the candy inside.  Good thing there were some leftover candies for me. Yum.

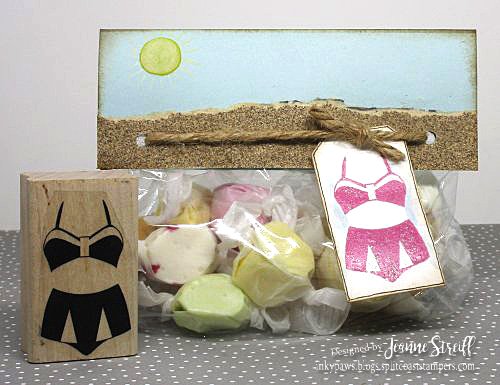
I used a cute swimsuit stamp from Simply Stamps for my tag.

Taffy Treat Jeanne_Streiff

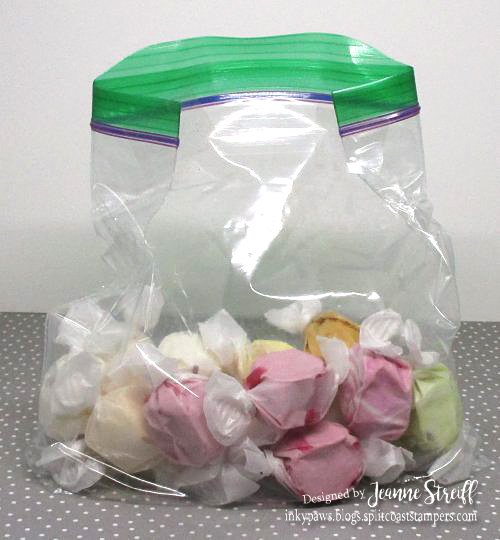
I started with a regular sandwich bag filled with candy. I folded the corners to the back to give it a little better shape and secured it with clear tape on both sides.

2 Taffy Treat Jeanne_Streiff

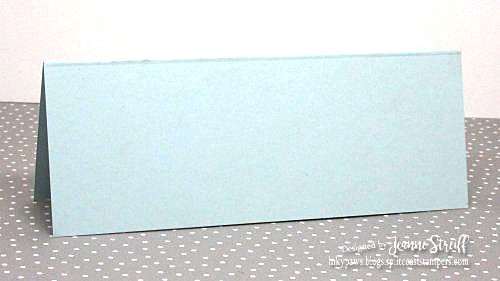
Next I cut a piece of light blue cardstock 5 1/4″ x 4″ and scored and folded to make a folded topper that is 5 1/4″ x 2″.

Note***Make sure and check that your bag is the same size. I’m sure different brands of sandwich bags vary a little bit. Adjust the size as needed.

3 Taffy Treat Jeanne_Streiff

I thought a little texture would be fun so I tore a piece of sandpaper and attached it to my cardstock and then trimmed the sides and bottom. I didn’t measure but it comes to not quite an inch tall at the highest spot. I hand painted a sun in the corner with watercolor paint for a little added something.

4 Taffy Treat Jeanne_Streiff

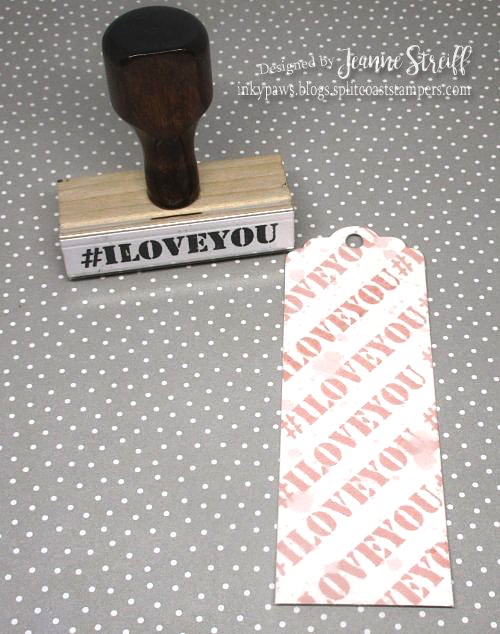
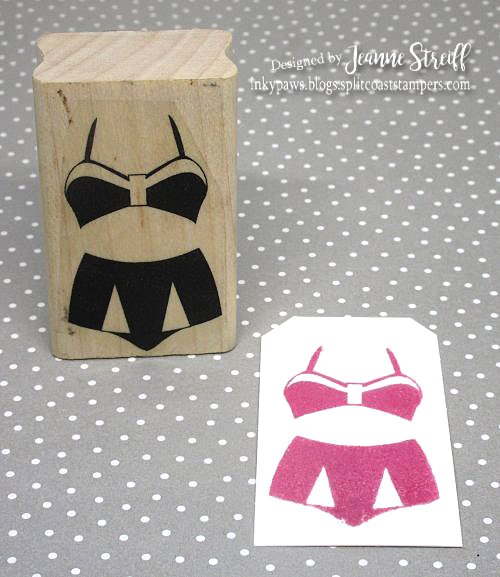
Next I started on a tag for my bag. I stamped the Vintage Bathing Suit stamp from Simply Stamps onto white cardstock in bright pink ink.

5 Taffy Treat Jeanne_Streiff

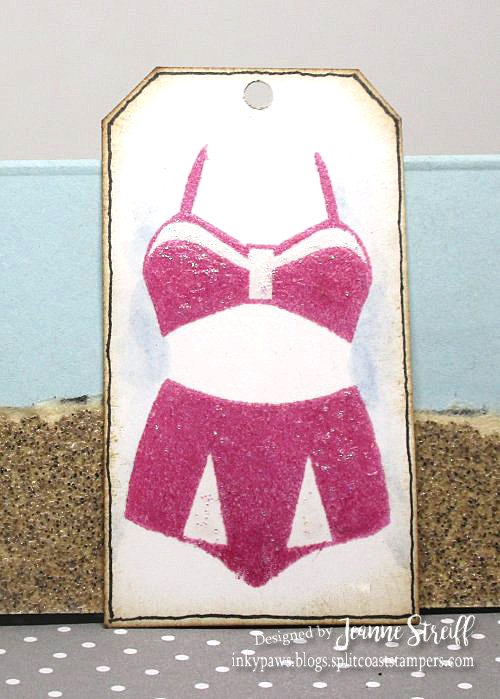
I added some glitter to the bathing suit and a little shading. I sponged the edges with brown ink and then added a border with a fine black pen. I used a hole punch to make a hole at the top.

6 Taffy Treat Jeanne_Streiff

I assembled my bag by punching a hole through the topper and bag and then threading twine through both and knotting. I added my tag under the knot. Here is another look at my finished treat bag.

1 Taffy Treat Jeanne_Streiff

AA Great Day

Daisy Bookmark Card

It’s always fun to make a card that includes a little gift. Today I’m going to show you how to create a bookmark in a card using stamps from Simply Stamps.

Daisy Bookmark Card Jeanne_Streiff

I created my card first by making a card back from pink cardstock and then creating a small pocket at the bottom. I glued just around the sides and bottom of my pocket so I could slip my bookmark in later. After it was all put together I stamped my I Love You Hashtag Stamp in matching ink, added a border with a fine black pen and added a little bling.

1 Daisy Bookmark Card Jeanne_Streiff

Next I started on my bookmark. I stamped the Heart Eyes Emoji stamp onto white cardstock (using red and black markers to get two colors). I then used a flower punch to cut out my flower.

2 Daisy Bookmark Card Jeanne_Streiff

I punched a second flower and then added some color with markers.

3 Daisy Bookmark Card Jeanne_Streiff

I used a paintbrush handle to curl the flower petals to get a little more dimension to the flower.

4 Daisy Bookmark Card Jeanne_Streiff

I layered my two flowers. Cute, huh?

5 Daisy Bookmark Card Jeanne_Streiff

I used a die cut (from Impression Obsession) to cut my bookmark from white cardstock. I used ink that matched my card back to stamp the Love You Hashtag Stamp diagonally until I covered the entire bookmark. I added a few splatters (I used the same ink and diluted it with a little water) for added texture and interest.

6 Daisy Bookmark Card Jeanne_Streiff

To finish my bookmark I added a border with a black pen and then attached my layered flower. Now it’s all ready to slide in the pocket of the card.

7 Daisy Bookmark Card Jeanne_Streiff

And here is another look at my finished card. This would be so perfect for your favorite little reader. You could even pair it with a book for a sweet and simple gift idea. I hope you enjoyed my project!

8 Daisy Bookmark Card Jeanne_Streiff

AA Great Day

Make Art Happen Paint Brush Holder

Happy Tuesday! Today’s project is a cute way to organize your art supplies. I made a paint brush holder this time but this could also be used for colored pencils or markers (in addition to other supplies!)

Make Art Happen Jeanne_Streiff

This project started out with a cleaned up green beans can. Give your can a good wash and soak off the label. Once you have it clean and dry add a couple coats of your favorite acrylic craft paint.

Make Art Happen c1 Jeanne_Streiff

I cut a strip of watercolor paper (mine was 3″ but adjust to the size of the can you use) and then did some loose watercoloring in colors that worked nicely with the paint used for the can. Let dry.

Make Art Happen c2 Jeanne_Streiff

After your watercolor strip is completely dry sponge the edges with brown ink  and attach to the can. I used a thick white glue and held it in place with some rubber bands until it was set.

Make Art Happen c3 Jeanne_Streiff

Now to start on the coordinating tag. I used the same colors of water colors to add some color to my tag. Let watercolor paper dry completely and stamp the sentiment in black ink. This is a custom one line stamp from Simply Stamps. I thought it would be perfect for mixed media projects. Fun, huh?

Make Art Happen c4 Jeanne_Streiff

I trimmed the tag to the shape I wanted with scissors, added a border with a fine black marker and sponged the edges with brown ink. I added some cording to my brush holder and attached the tag.

Make Art Happen c5 Jeanne_Streiff

For a final step I added the pretty button to my can. This is the Pretty in Pink Fashion Button by The AG Studio from Simply Stamps. I thought the sweet watercolor image was perfect for this project. I removed the pin back and attached it to my brush holder with foam tape.

AA Great Day