
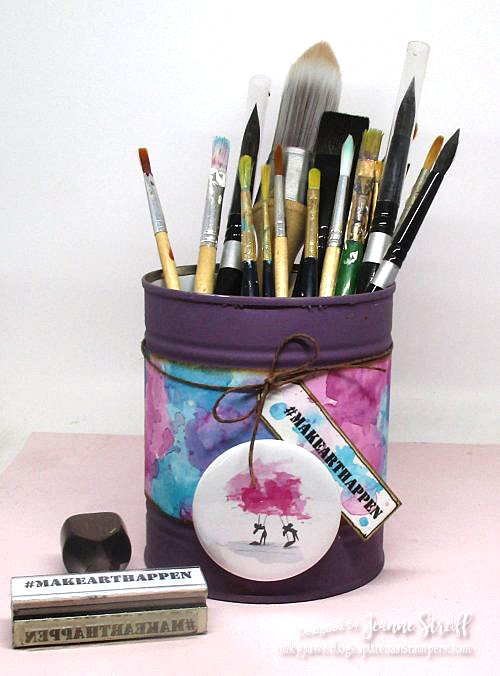
Happy Tuesday! Today’s project is a cute way to organize your art supplies. I made a paint brush holder this time but this could also be used for colored pencils or markers (in addition to other supplies!)
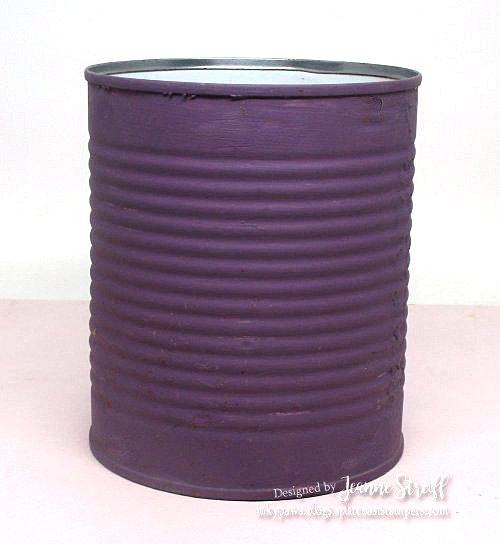
This project started out with a cleaned up green beans can. Give your can a good wash and soak off the label. Once you have it clean and dry add a couple coats of your favorite acrylic craft paint.
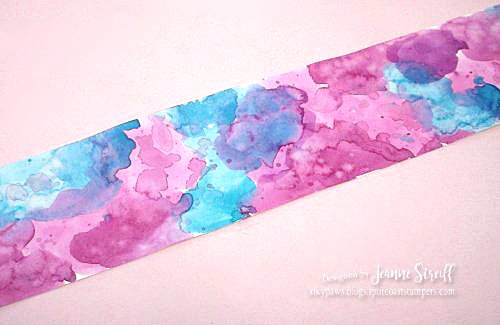
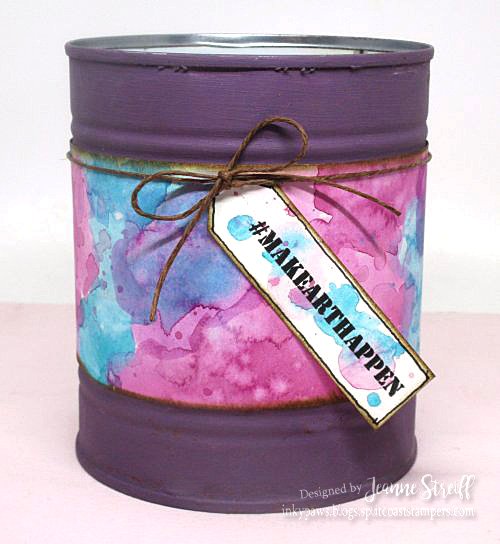
I cut a strip of watercolor paper (mine was 3″ but adjust to the size of the can you use) and then did some loose watercoloring in colors that worked nicely with the paint used for the can. Let dry.
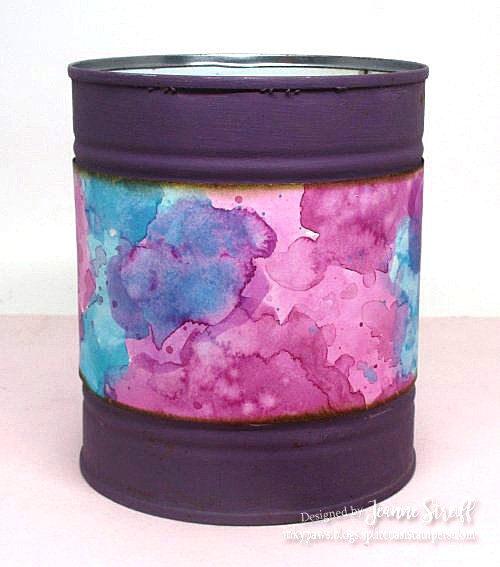
After your watercolor strip is completely dry sponge the edges with brown ink and attach to the can. I used a thick white glue and held it in place with some rubber bands until it was set.
Now to start on the coordinating tag. I used the same colors of water colors to add some color to my tag. Let watercolor paper dry completely and stamp the sentiment in black ink. This is a custom one line stamp from Simply Stamps. I thought it would be perfect for mixed media projects. Fun, huh?

I trimmed the tag to the shape I wanted with scissors, added a border with a fine black marker and sponged the edges with brown ink. I added some cording to my brush holder and attached the tag.
For a final step I added the pretty button to my can. This is the Pretty in Pink Fashion Button by The AG Studio from Simply Stamps. I thought the sweet watercolor image was perfect for this project. I removed the pin back and attached it to my brush holder with foam tape.


One response to “Make Art Happen Paint Brush Holder”