Category Archives: Simply Stamps

Butterfly Thanks

Happy Thursday!

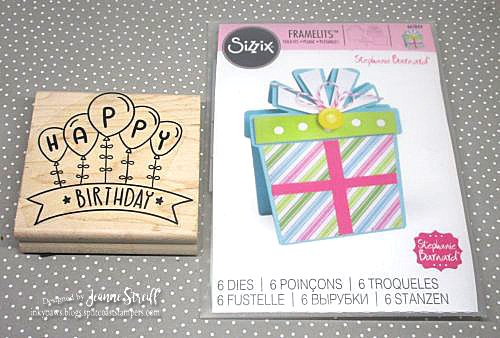
I’m sharing a glittery card today using the Thank You Craft Stamp from Simply Stamps. I used Nuvo Glitter drops to cover my paper for the butterflies so no loose glitter mess (in my world that’s a great thing!).

Butterfly Thanks Jeanne_Streiff

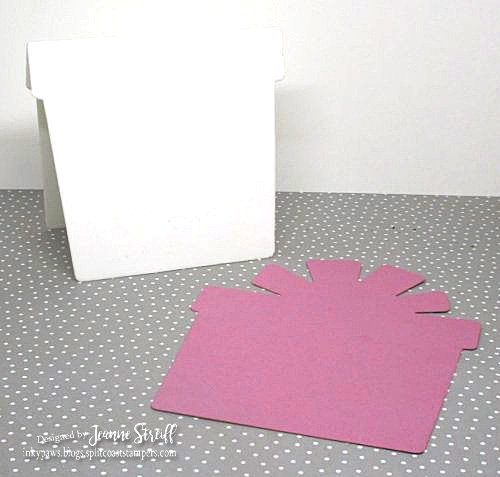
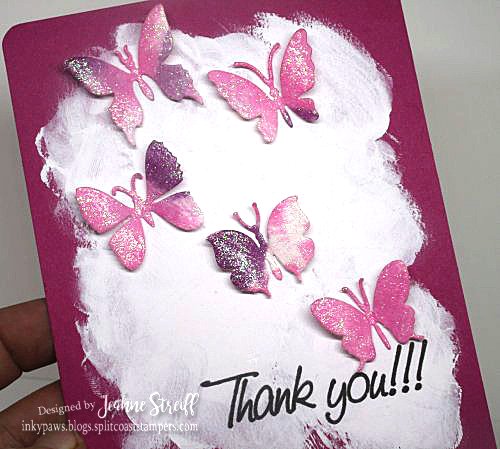
I started by making my card. I used (excuse my well loved jar of paint) acrylic craft paint to make a smudgy area on my card. You can use a brush for this – I used my finger.

1 Butterfly Thanks Jeanne_Streiff

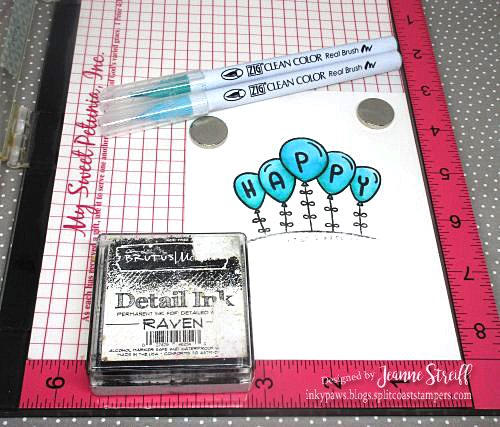
Next I stamped my Thank You phrase with black ink.

2 Butterfly Thanks Jeanne_Streiff

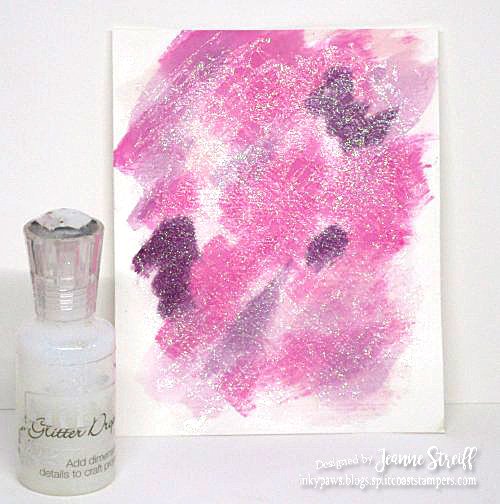
This is the paper I used for my butterfly die cuts (Impression Obsession). I took a heavy piece of white cardstock and smudged some pink and purple ink randomly over the card. Then I used Nuvo (clear) Glitter Drops directly over the ink. I used a scrap of cardstock to smooth the glitter drops over the panel (like a pallet knife) so I didn’t have any clean up. Let dry completely before die cutting.

3 Butterfly Thanks Jeanne_Streiff

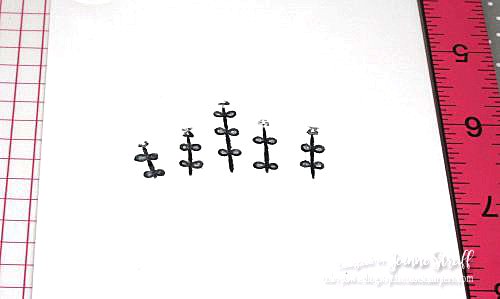
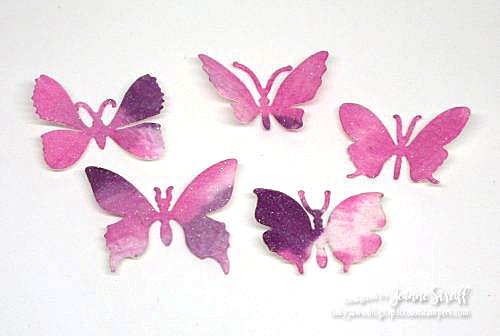
Here are my butterfly die cuts. Because they have the added glitter glue layer they are pretty sturdy and moldable. I used my fingers and curled the wings for a little added dimension.

4 Butterfly Thanks Jeanne_Streiff

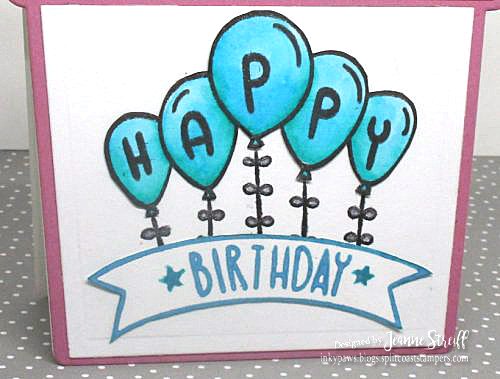
Here is a closer look at my finished card.

5 Butterfly Thanks Jeanne_Streiff

Have a great day!

Jeanne


Happy Birthday Shaped Card

I have a sweet shaped birthday card to share today using the  Happy Birthday Balloons stamp from Simply Stamps and a card die set from Sizzix.

Birthday Present Shaped Card Jeanne_Streiff

One thing I really like about stamps from Simply Stamps is they are clear stamps mounted onto a repositional sheet on a wood block. So if you like wood blocks you can use them as is or if you like clear stamps you can peel them off and use them with you acrylic blocks or in my case the MISTI from My Sweet Petunia.

1a Birthday Present Shaped Card Jeanne_Streiff

I started out with die cutting the pieces for my card back. I used the (661844) Gift Card Fold- its die set from Sizzix. It’s so cute.

1 Birthday Present Shaped Card Jeanne_Streiff

Then I assembled the front to the folded card back.

2 Birthday Present Shaped Card Jeanne_Streiff

I stamped the balloons I colored the balloons and cut them out to layer later.

3 Birthday Present Shaped Card Jeanne_Streiff

Next I stamped the banner. It will be cut out and layered. Ignore the smudge. Since I will be cutting this out it won’t matter.

4 Birthday Present Shaped Card Jeanne_Streiff

I stamped the middle section of the Happy Birthday Balloons stamp onto white cardstock. This with be die cut as the center panel of my card and the base for my balloons and banner.

5 Birthday Present Shaped Card Jeanne_Streiff

Here it is after die cutting and my balloon and banner layered on it. Perfect it!

6 Birthday Present Shaped Card Jeanne_Streiff

I assembled the rest of the die cut pieces.

7 Birthday Present Shaped Card Jeanne_Streiff

To finish my card I added some dots of glitter glue along the pink panel, added some pen stitching to each of the layers and then made a little torn paper flower to add a little dimension to the “bow”. To make my flower I tore two rough circles from pink cardstock and crumpled them. Then I layered the flower pieces and added a dot of white acrylic paint to the center.

Hop you enjoyed my project!

AA Great Day

Taffy Treat Bag

Saltwater Taffy always screams beach to me. It’s one of those candies that you see at every little tourist shop along beaches everywhere. Today’s summer themed treat bag was inspired by the candy inside.  Good thing there were some leftover candies for me. Yum.

I used a cute swimsuit stamp from Simply Stamps for my tag.

Taffy Treat Jeanne_Streiff

I started with a regular sandwich bag filled with candy. I folded the corners to the back to give it a little better shape and secured it with clear tape on both sides.

2 Taffy Treat Jeanne_Streiff

Next I cut a piece of light blue cardstock 5 1/4″ x 4″ and scored and folded to make a folded topper that is 5 1/4″ x 2″.

Note***Make sure and check that your bag is the same size. I’m sure different brands of sandwich bags vary a little bit. Adjust the size as needed.

3 Taffy Treat Jeanne_Streiff

I thought a little texture would be fun so I tore a piece of sandpaper and attached it to my cardstock and then trimmed the sides and bottom. I didn’t measure but it comes to not quite an inch tall at the highest spot. I hand painted a sun in the corner with watercolor paint for a little added something.

4 Taffy Treat Jeanne_Streiff

Next I started on a tag for my bag. I stamped the Vintage Bathing Suit stamp from Simply Stamps onto white cardstock in bright pink ink.

5 Taffy Treat Jeanne_Streiff

I added some glitter to the bathing suit and a little shading. I sponged the edges with brown ink and then added a border with a fine black pen. I used a hole punch to make a hole at the top.

6 Taffy Treat Jeanne_Streiff

I assembled my bag by punching a hole through the topper and bag and then threading twine through both and knotting. I added my tag under the knot. Here is another look at my finished treat bag.

1 Taffy Treat Jeanne_Streiff

AA Great Day